
Making a Dry Box
Over the last several weeks, I’ve been focusing my energy on making my papermaking set-up more efficient. One of the key things I’ve been wanting to try (and now finally have!) is making a dry box for drying freshly pulled sheets. Dry boxes are sort of the gold standard for drying handmade paper, mainly because they are efficient and produce a quality sheet.
Follow along to see how I made my dry box and the early results!
So, what is a dry box?
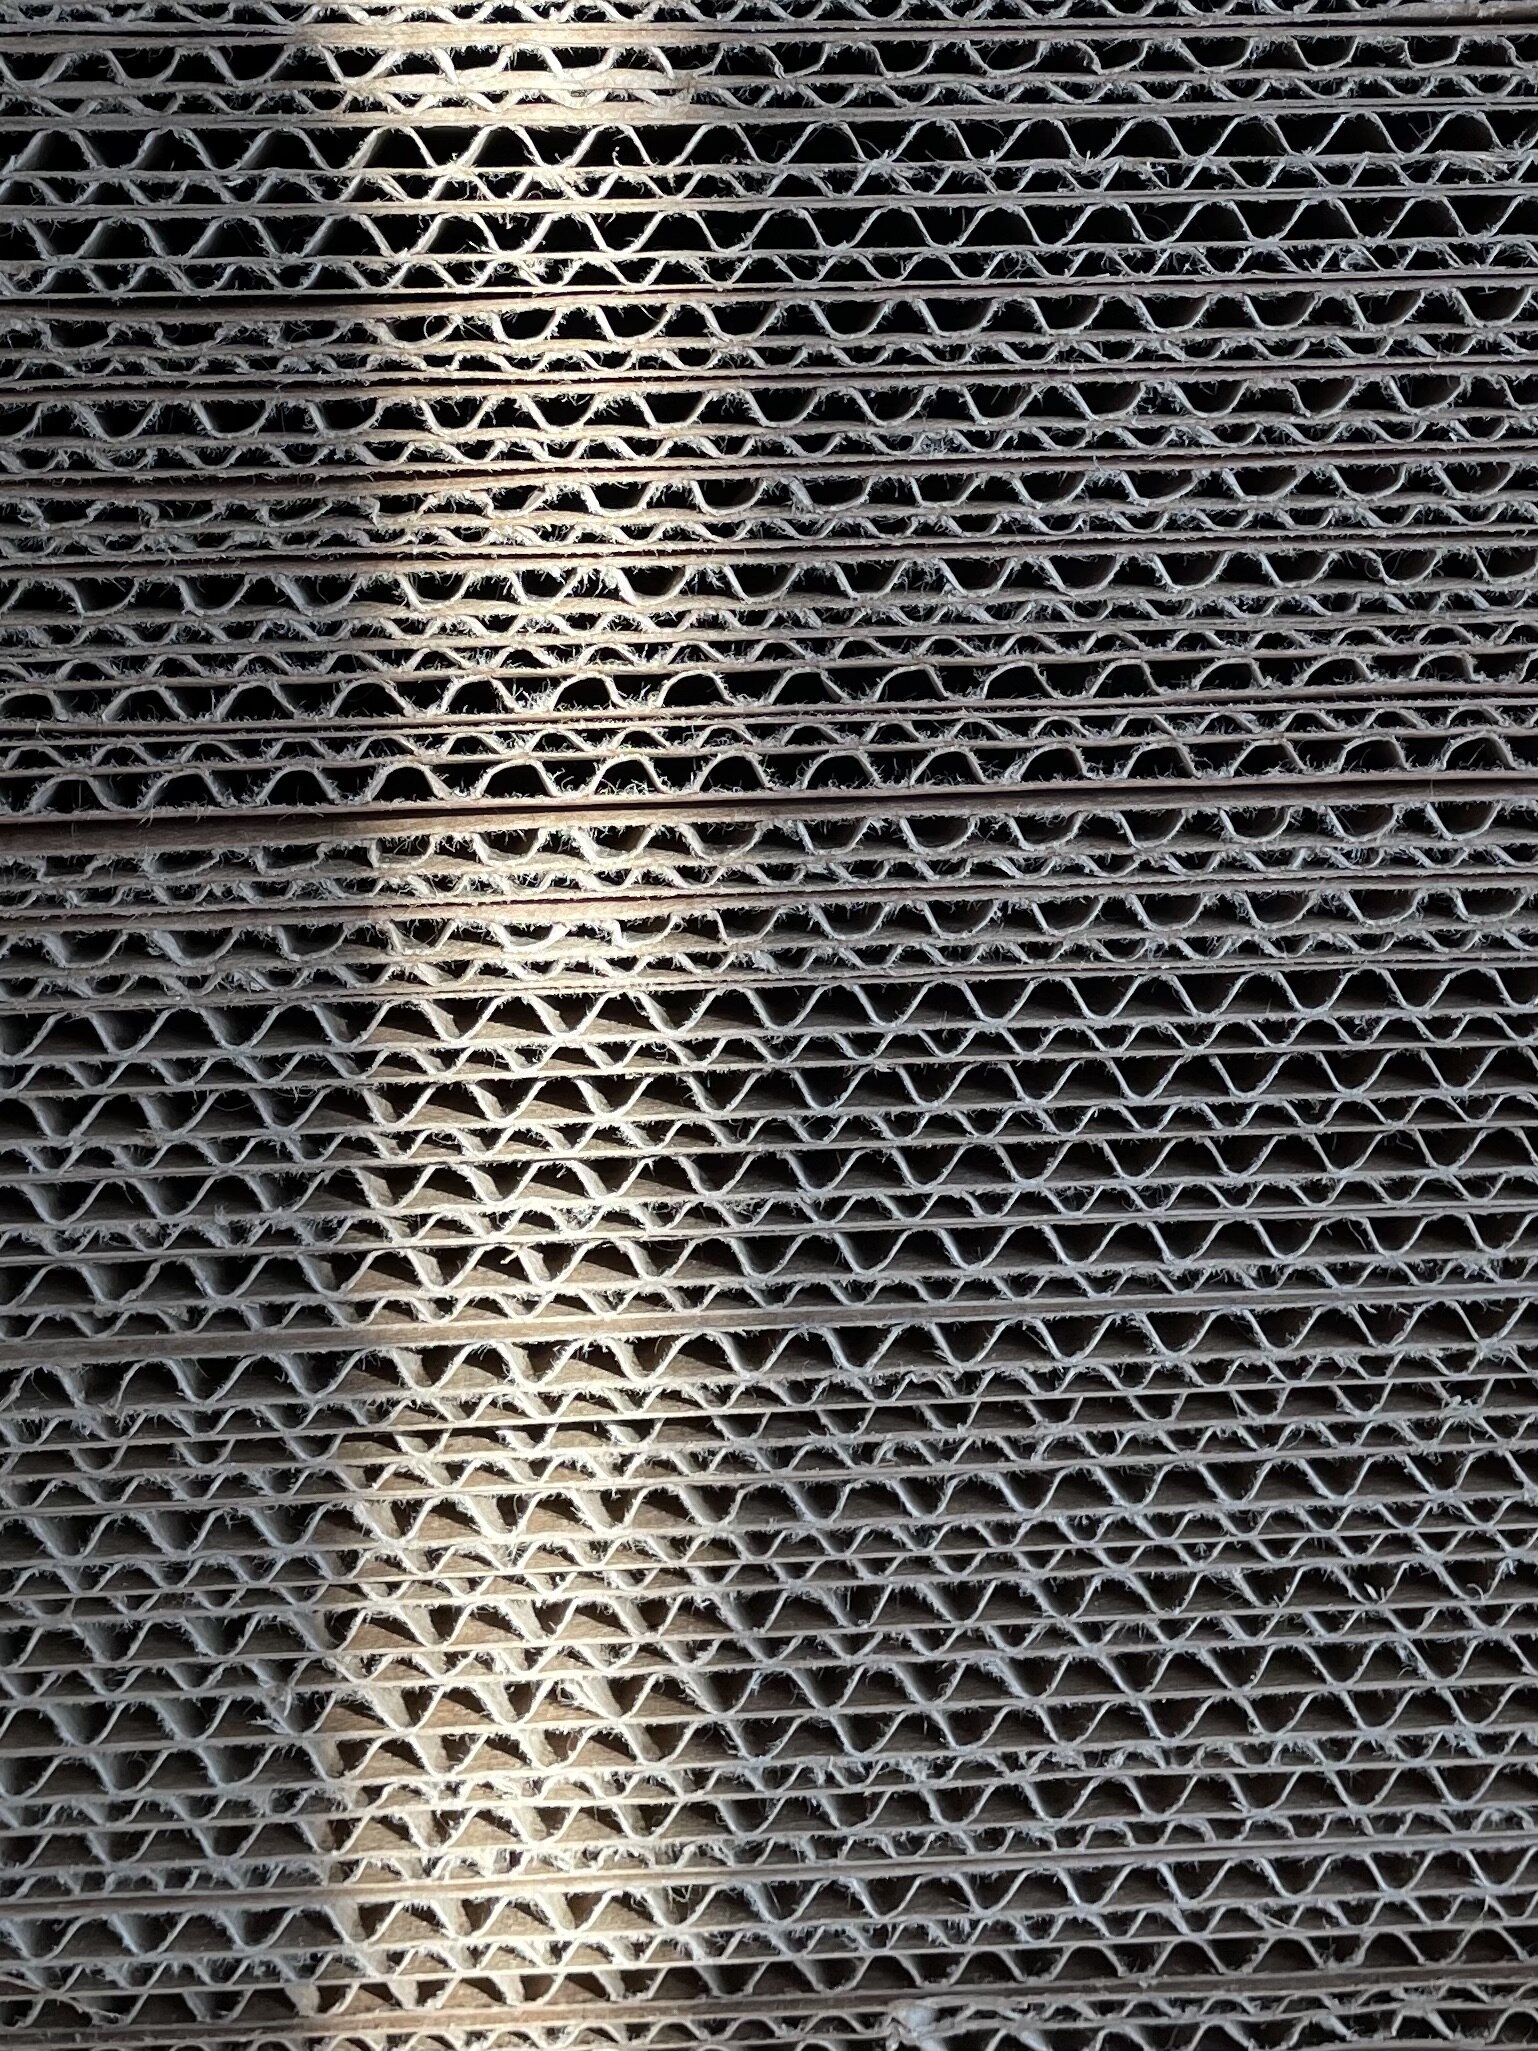
The lovely slats in these many layers of cardboard enable the paper drying process to happen.
A dry box is really less of a “box” and more so a stack of cardboard. The freshly made sheets get pressed, then put between blotters and then set in between layers of cardboard. This paper sandwich then gets layered over and over again until the “box” is filled. Behind the cardboard is a standard ol’ box fan. When turned on, the air from the fan pushes through the slats in the cardboard and dries the sheets within 24 hours (sometimes more if your sheets are thick).
I’ve experimented with a few different ways for drying handmade paper, and using a dry box offers benefits other types of drying methods don’t.
The sheets dry flat straight out of the box. This was, perhaps, my biggest motivation for making a dry box. I was annoyed with air drying my paper, then having to dry press each and every sheet. This process was time consuming and didn’t make the type of quality, flat sheet I’ve been striving for.
You can internally size the paper. For a time, I wanted to dry my paper on mirror. This results in a very smooth, flat sheet, which was exciting. But the major issue was that with this drying method, you cannot internally size your paper without that sheet getting totally stuck to the mirror and ruined. You can externally size these sheets, but that comes with loads of other problems, not to mention more work. A dry box fixes all these problems, as you can size your sheets internally and have them dry totally flat.
The sheets have a higher quality when using a dry box. Since the sheets dry flat, the fibers are able to dry the correct way. Sheets dried under pressure (i.e., in a dry box) are also stronger than sheets that are dried through other methods.
It’s efficient. Once the dry box is set up, you just flip on the fan and come back in about a day to stacks of flat, dry paper. No other steps required.
There are drawbacks to using a dry box, especially if you’re a new papermaker (like me!) and work out of your home (like me!)
Dry boxes are expensive to purchase, anywhere from $600 to over $1,000.
You can make a dry box as a DIY, but you do need some power tools for cutting the board to size.
Dry boxes take up space in your studio and aren’t collapsible like other methods, since there are so many layers of thick cardboard.
Making a Dry Box
I chose the DIY route to making my dry box. I based my model on the one Helen Heibert shows in this article. This type of dry box is not as fancy as some of the other ones you can find online, but for just starting out it seemed like a perfect fit and required the least amount of actual woodworking know-how.
This dry box set up is super simple and is considerably less expensive than buying directly from a supplier.
Tools
Two pieces of thick wood (about 1/2 inch)
Two pieces of thin wood (1/4 inch or less)
Screw-in hooks
Lashing straps
Cardboard (smooth and flat)
Blotters
Box fan
Directions
First, make a plan for what size you want the dry box to be. Take into account the size of your finished sheets and how many sheets you want to be able to dry on each layer, along with the width and height of your particular fan. The final stack of cardboard shouldn’t be taller than the box fan when everything is layered in; if it is, the paper in those top layers will not dry.
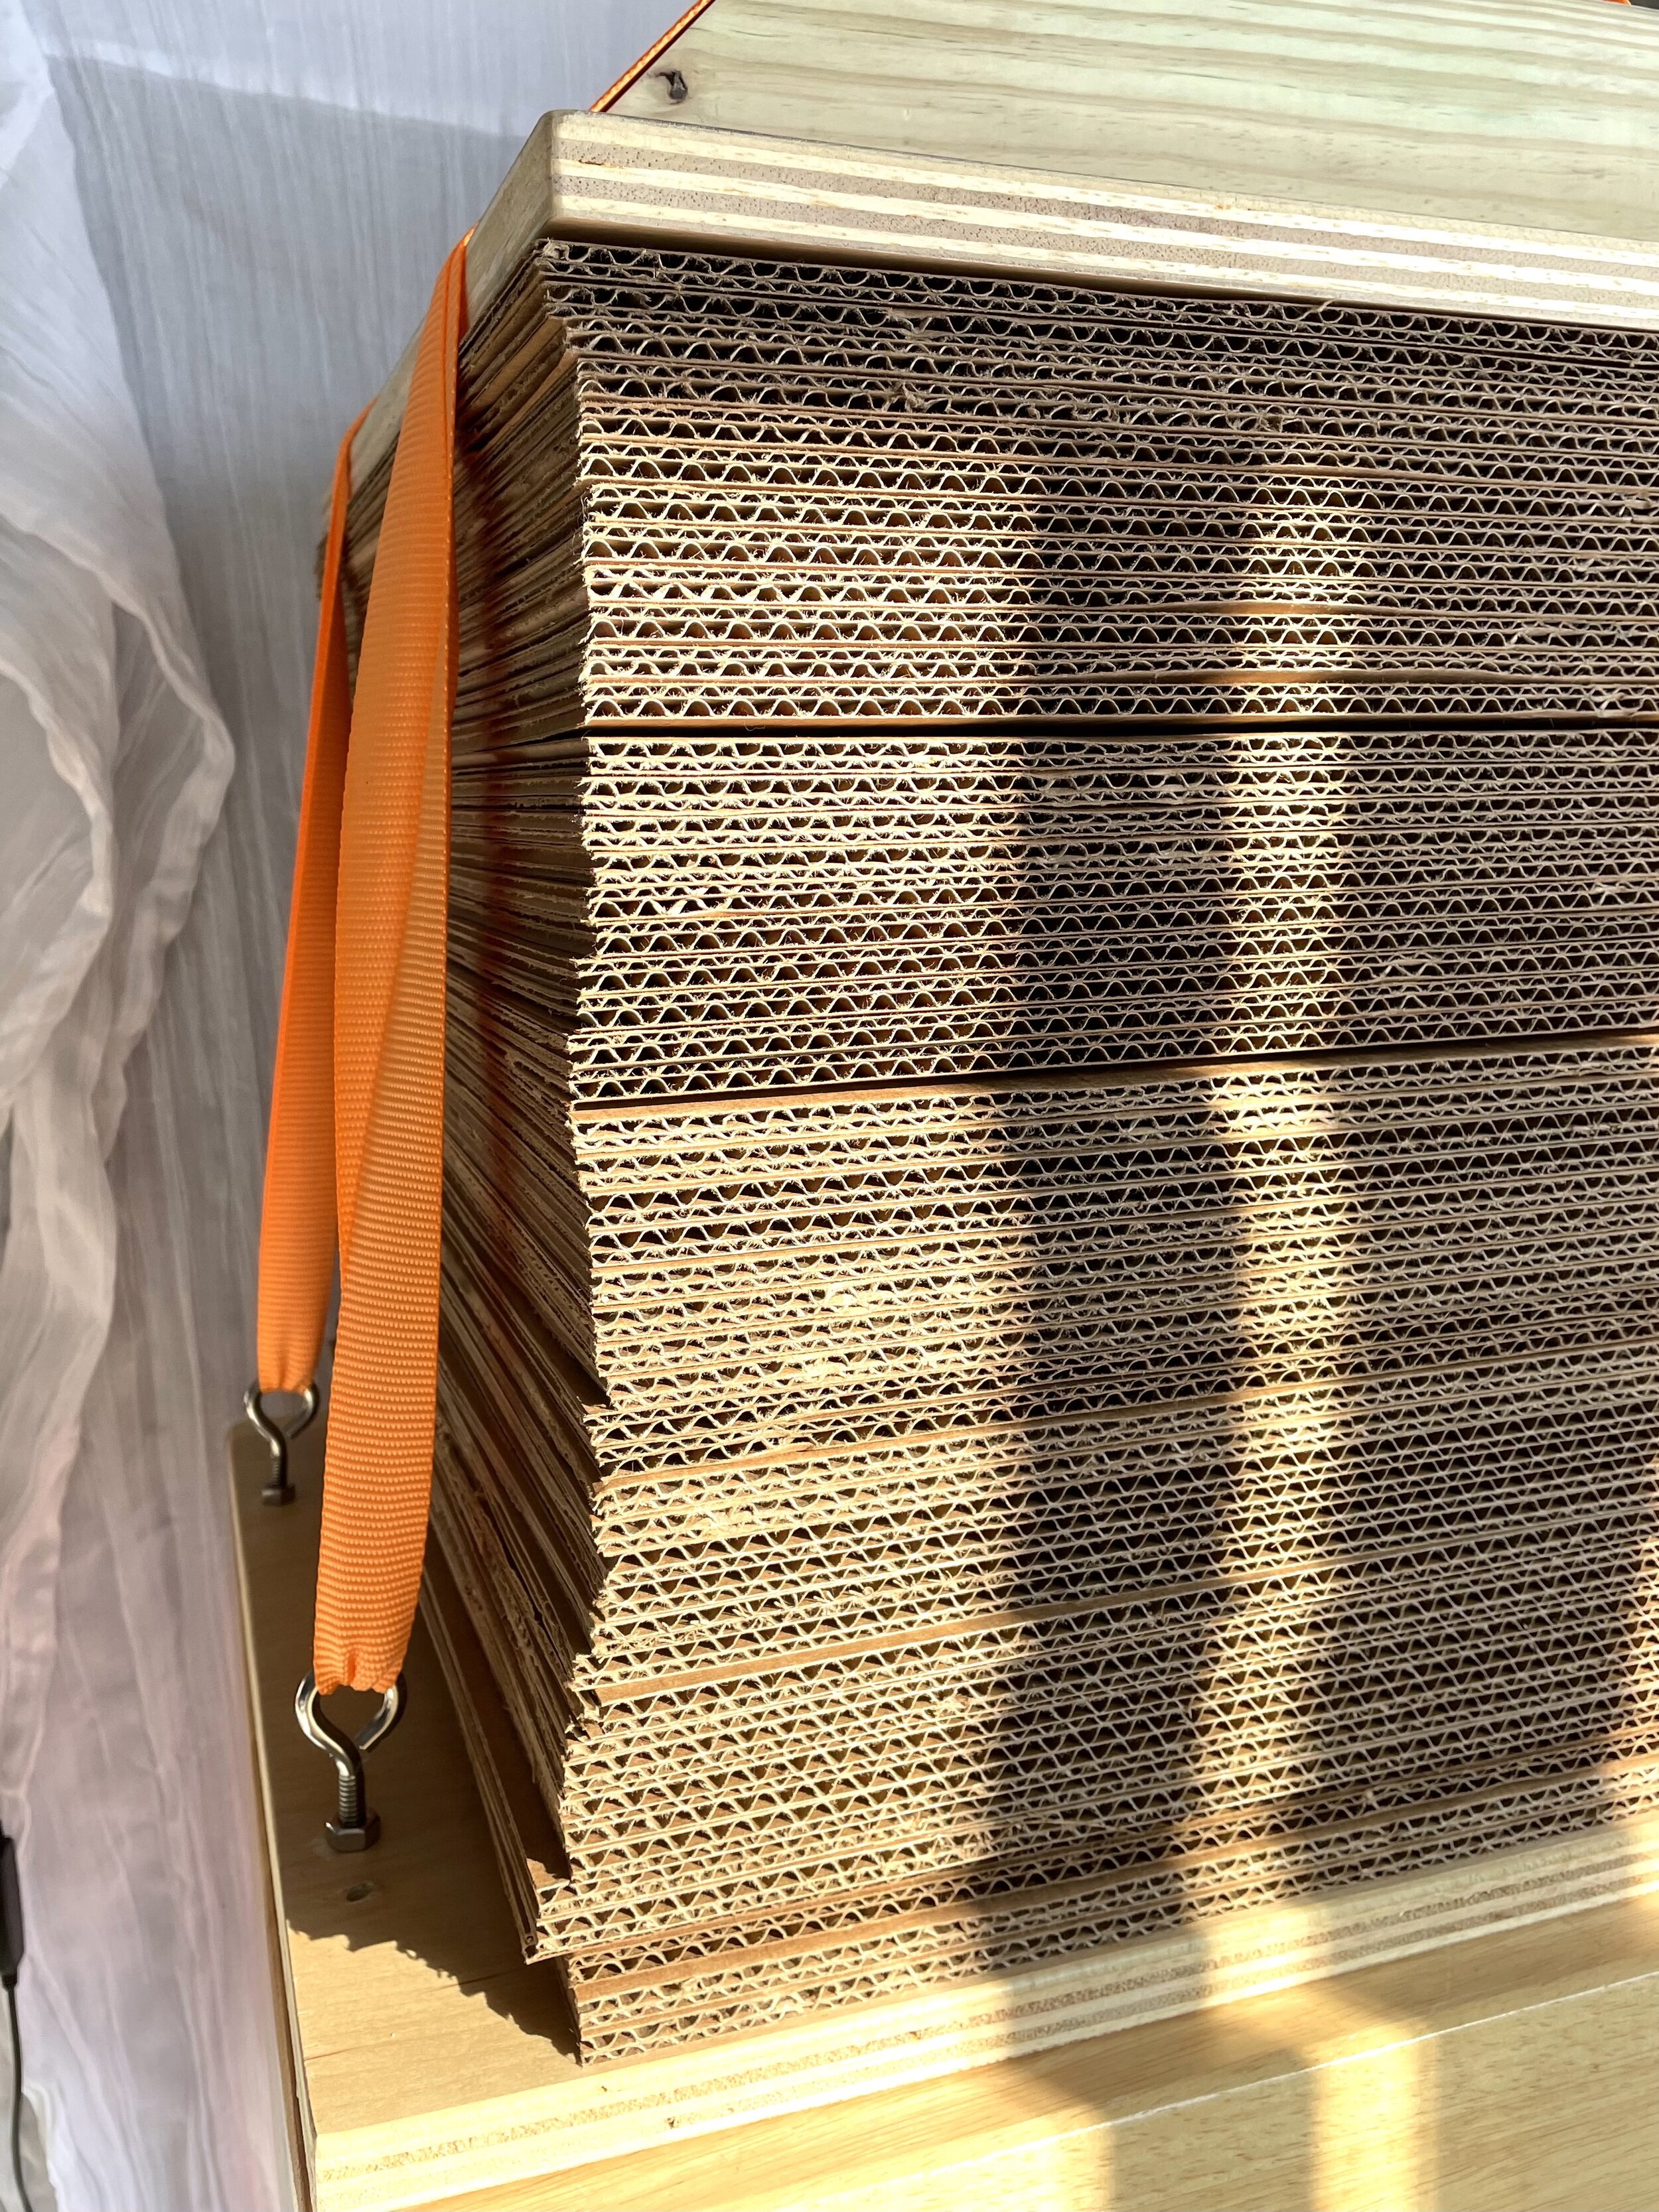
Once you’ve made your plan, cut the wood to the correct size. The two thick pieces of wood will be the top and bottom of the box, with the bottom piece being slightly more wide than the top to accommodate the screw-in hooks. The two thin pieces of wood will be placed along the sides of the dry box, to help the air funnel into the cardboard and not out the sides.
Cut down all your cardboard to size. When sourcing cardboard, you will want to be sure you’re getting double-walled cardboard—it should be thick. While you can use recycled cardboard for this, it may take a long time to accumulate. You want the cardboard to be as smooth and flat as possible; dings and inconsistencies in the cardboard surface will show up in the final sheets. I personally found it easier to buy the cardboard new, and Uline has a lot of great options for large cardboard sizes.
Drill four holes on either side of your bottom piece of wood, which is the base of the whole structure. Screw in the hooks until they are tight.
Layer up the cardboard and blotters. The blotters are what you’ll dry your paper between so that the wet paper isn’t touching the cardboard directly. Each layer in the dry box should go: cardboard, blotter, paper, blotter, cardboard > then repeat until the dry box is full.
Set the second thick piece of wood on the top of the whole stack. Set up the lashing straps around the hooks and clamp down tightly (but not super tight since you don’t want the paper to take on any of the indentations of the cardboard). Turn on the box fan and test out your new dry box!
That’s it! This dry box method is very easy to set up and assemble. I spent a total of $120 for materials and can dry roughly 50 sheets in it, both being cost effective while being what I need for my current output. As I continue making paper, I’m sure I’ll outgrow the one I’ve made. But for now, it suites my needs perfectly as I continue to grow in this craft.
The Final Result
Upon my first test run with the dry box, I was very pleased with the results. The paper dried flat, which was my main objective. These first sheets also felt stronger, I’m sure because the fibers were able to dry correctly the first time around.
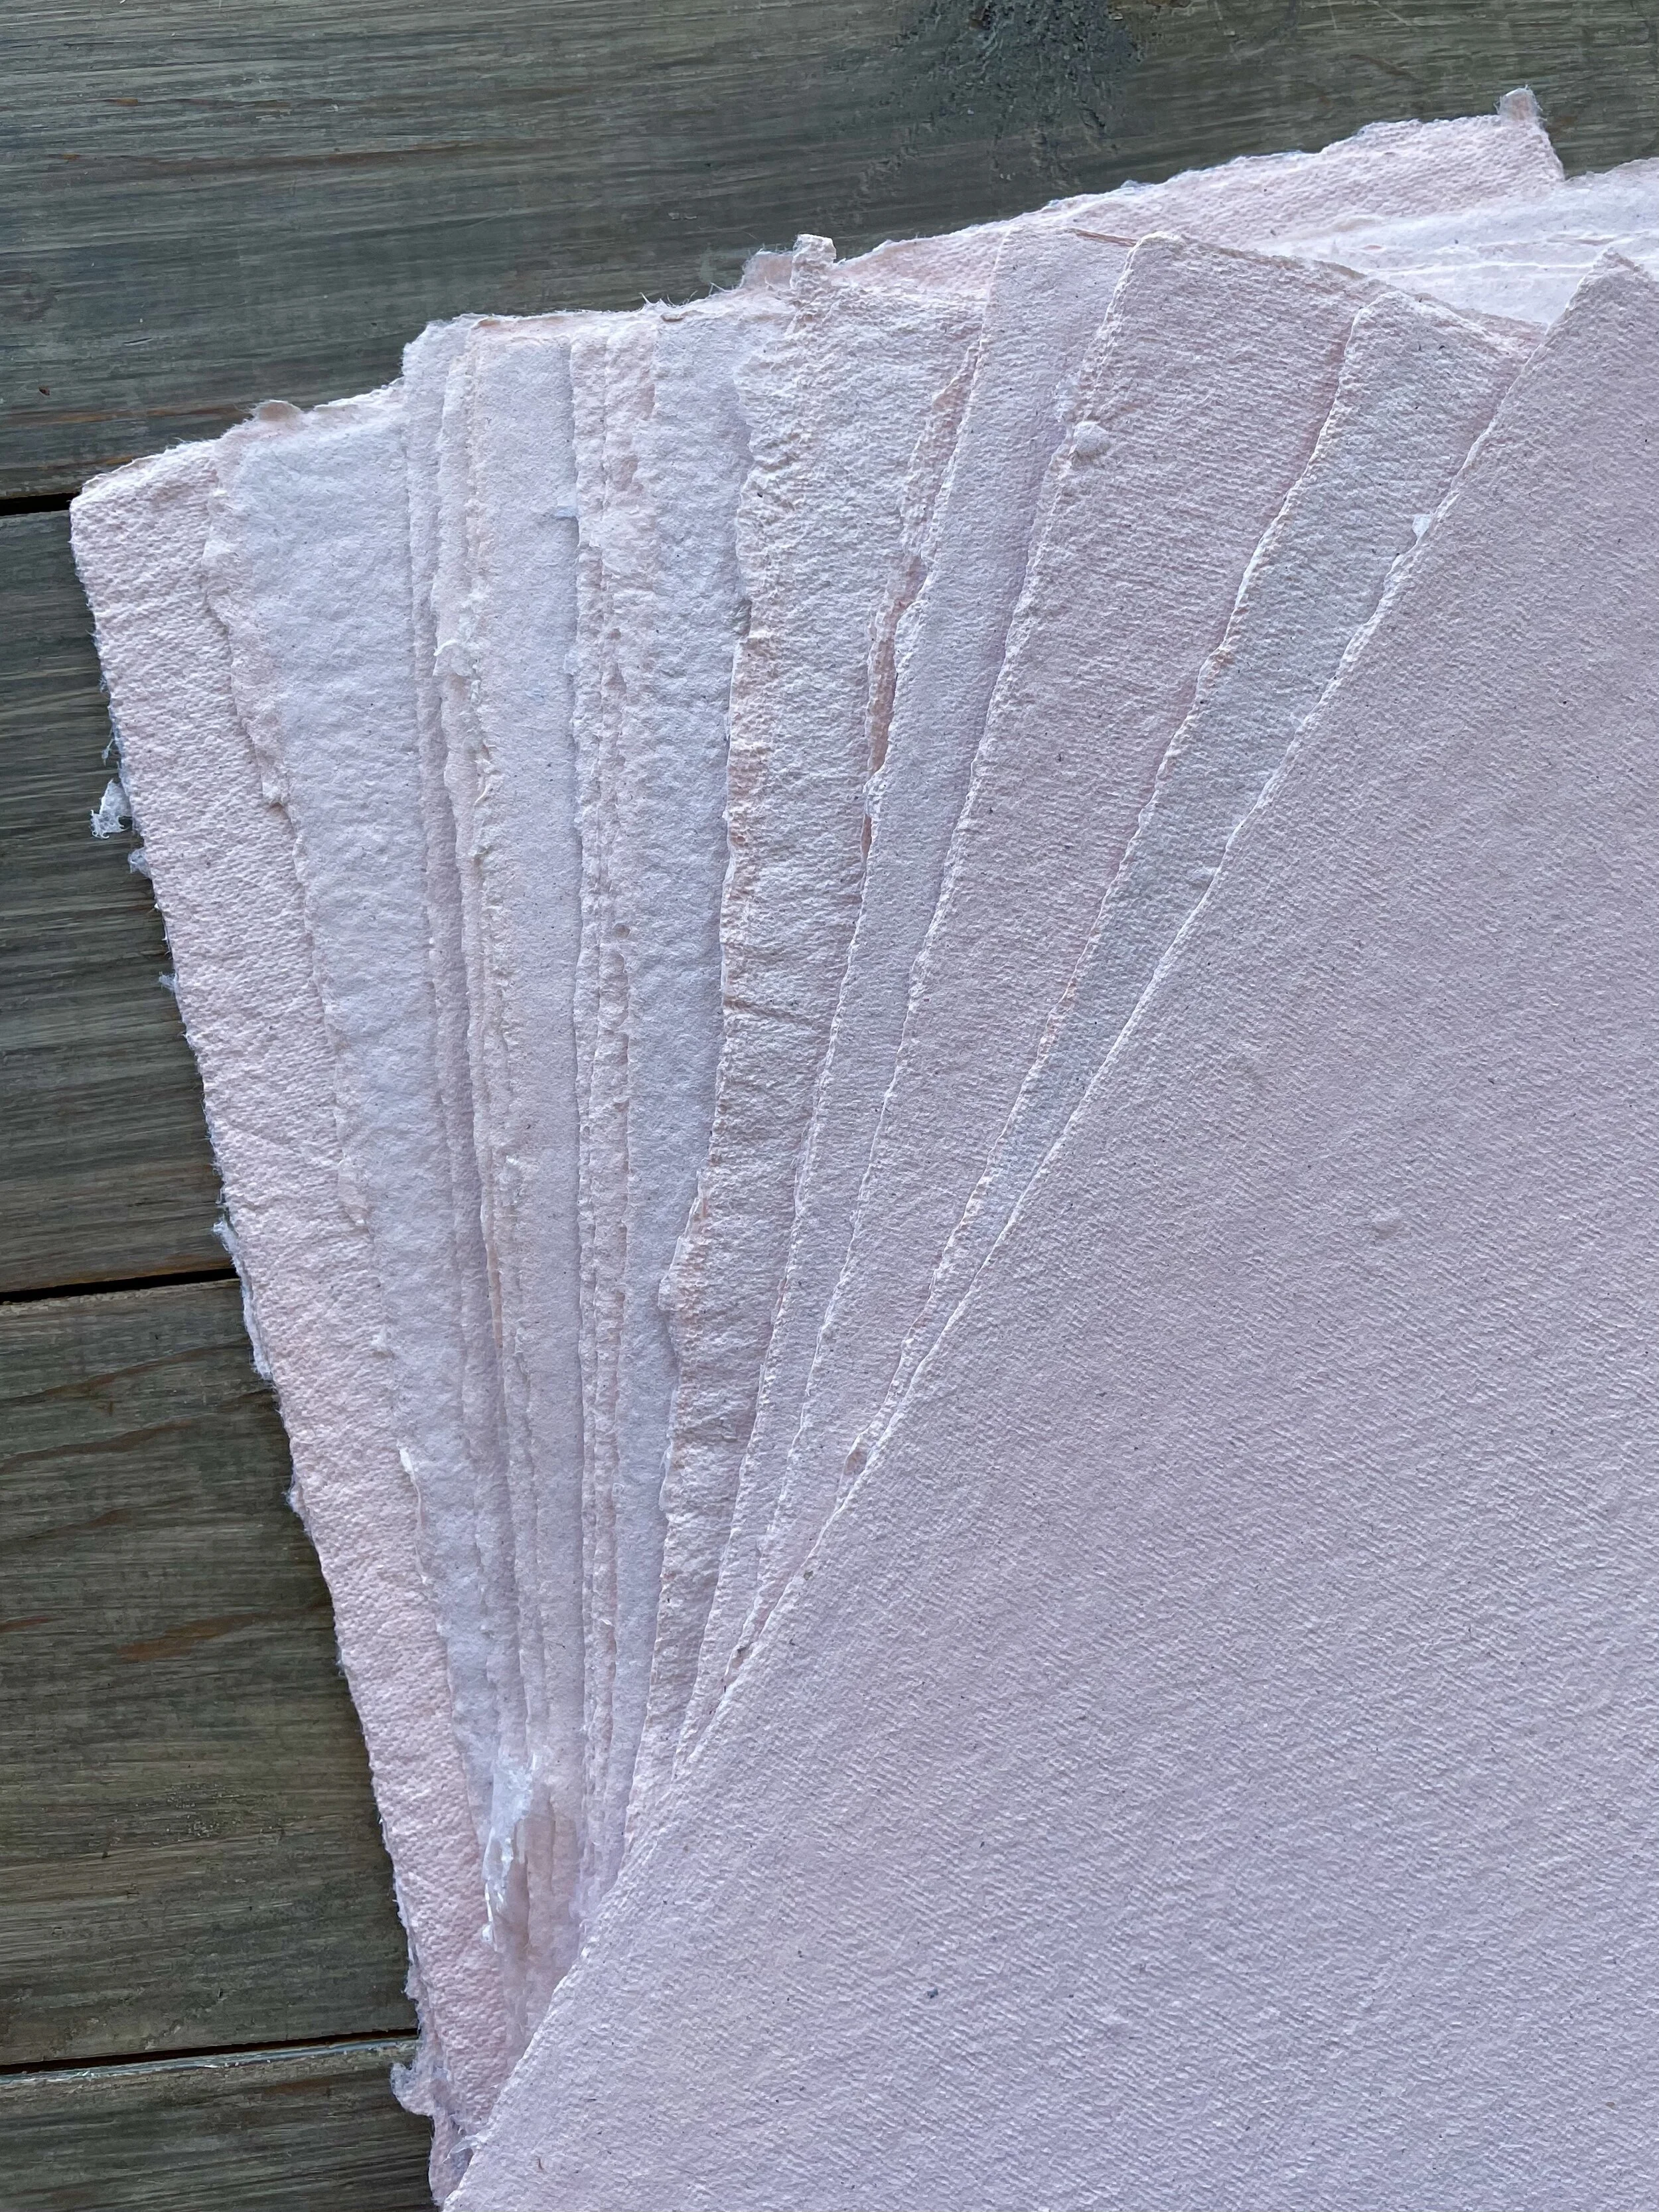
This light pink paper was dried in my new dry box! This is how it looked straight out of the box.
There is always room for improvement, though. Here are a few things I want to do differently next time:
Put in heavily pressed sheets. Some of my sheets weren’t as pressed as they could have been when I layered them in the dry box, which meant I was putting in damp sheets that got the cardboard a bit wet too. As the cardboard gets wet—and especially if it gets soaked—it will become damaged and no longer usable as a layer in the box. Plus the sheets will take longer to fully dry. No bueno!
Use a set of dedicated dry box blotters and a set of dedicated pressing blotters. The pressing blotters will be for couching and pressing wet sheets and these ones will get soaked. The dry box blotters will stay in the dry box and will always be relatively dry; they’ll be what I dry the paper between. This workflow will also minimize possible damage to the cardboard and will speed up the drying process.
Strap down the whole contraption more tightly. I found that the edges of some sheets got a little bit wavy, which indicates to me that there were some air pockets throughout. Since my cardboard was brand spankin’ new, some of the cardboard was a bit curved to begin with, which contributed to this problem. Over time, I expect the cardboard to mellow out a bit and strapping the layers down more tightly will be a huge help as well.
All in all, I’m very pleased with my first dry box making attempt and first dry box papermaking run. It certainly seems like a viable solution for drying handmade paper if you intend on making paper in large batches frequently!
Questions or comments about my process? Drop a comment below!